Create certificate for use with Azure PowerShell cmdlets
There are two ways to access your Azure subscription from PowerShell(PS). The first is to use Add-AzureAccount and subsequently be greeted with a login. The other way is to use Set-AzureSubscription and use certificates.
Below is the method of using certificates for more fluid scripts.
-
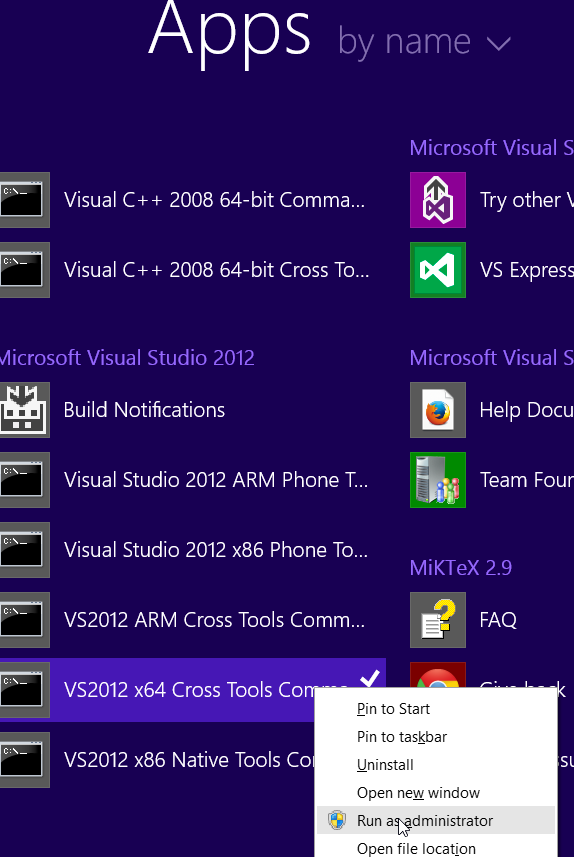
Open visual studio command prompt as an administrator. This is located under your Visual Studio family of applications.
-
run this command (replacing
with a name)
makecert -sky exchange -r -n “CN=” -pe -a sha1 -len 2048 -ss My “ .cer” -
Run certmr.msc by searching it on your start menu.
-
Navigate to Personal -> Certificates and find your certificate. Right click your certificate and click ‘Export…'

-
Run through the wizard selecting all default options. Do not export your private key and save your certificate anywhere on your desktop


-
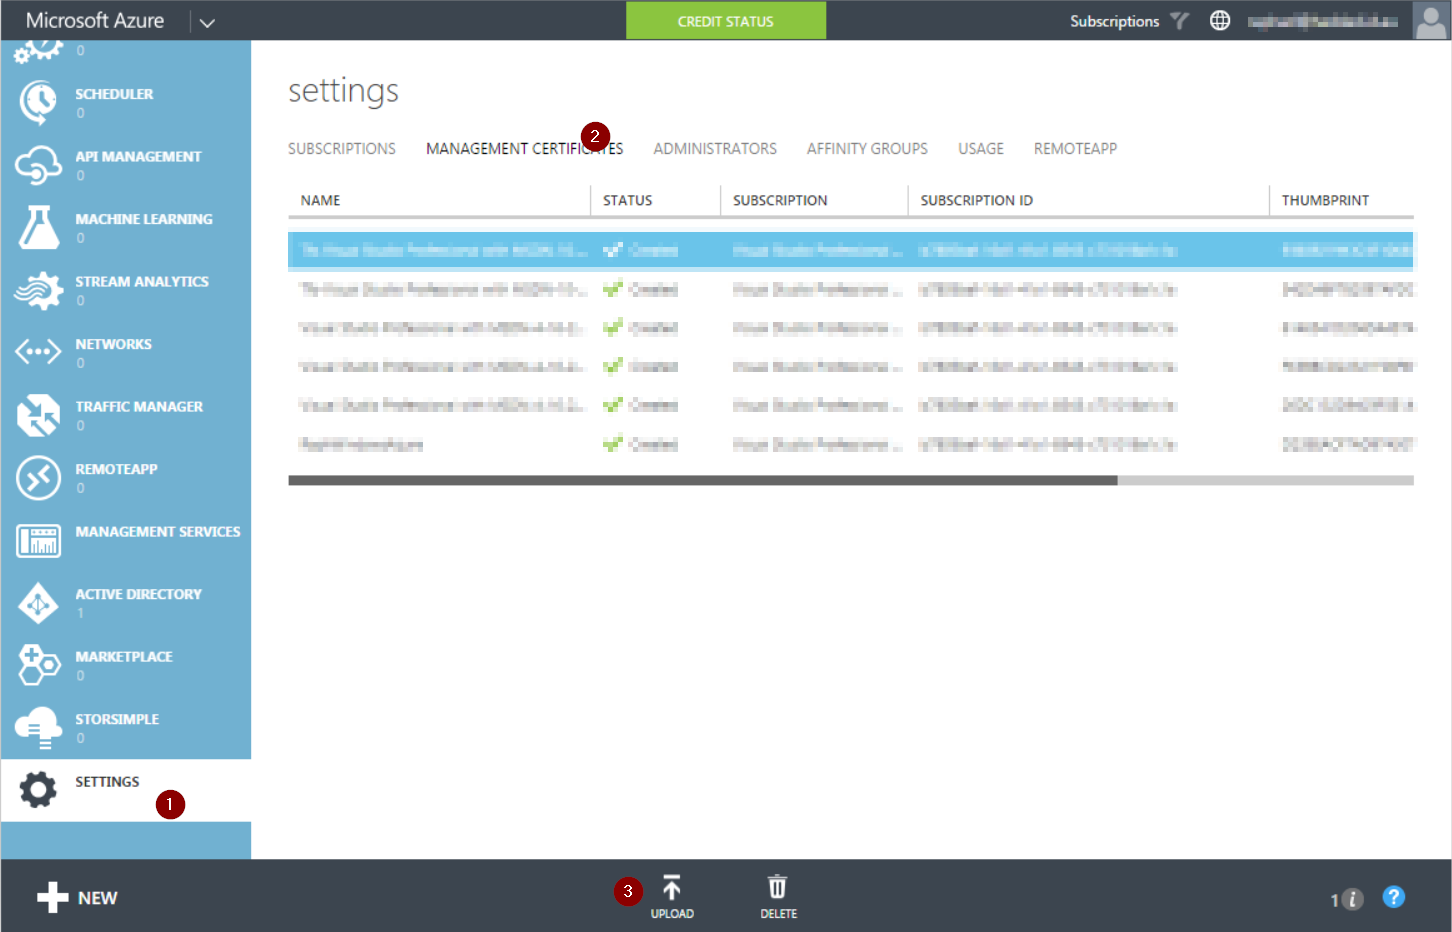
Log into Azure go to Settings and Import your certificate

-
Once uploaded you should see your management certificate appear and you will be able to run the PowerShell script below. You should be able to see the SubscriptionId and Thumbprint from the first screenshot from step 6.
Set-AzureSubscription -SubscriptionId “” -Certificate (Get-Item “Cert:\CurrentUser\my\$ ”)