How to Migrate from Blogger to Hugo and Netlify
You may have noticed that I’ve migrated my blog over to MarkDown rendered with Hugo. Today I want to outline why and how I did this.
Why
I’ve always been a fan of coded typesetting of documents or pages. For example: I’ve always liked LaTeX mainly because of the cleanliness, simplicity, and consistency of the generated document. More recently, I’ve been using MarkDown for artefact documentation and have found source and generated documents easy to read.
Those who use LaTeX can attest to the cleanliness of the generated document but also the difficulty to read the original source, there’s just too much noise around the actual content.
Below is a primary header in HTML, LaTeX, and MarkDown respectively.
<h1>Hello World!</h1>
\section{Hello World!}
# Hello World!
The last is clearly (no pun intended) the easiest to read.
HTML or LaTeX provide enumerable more features than MarkDown, for the purposes of blogging though, MarkDown will serve me well.
How
Initial Migration
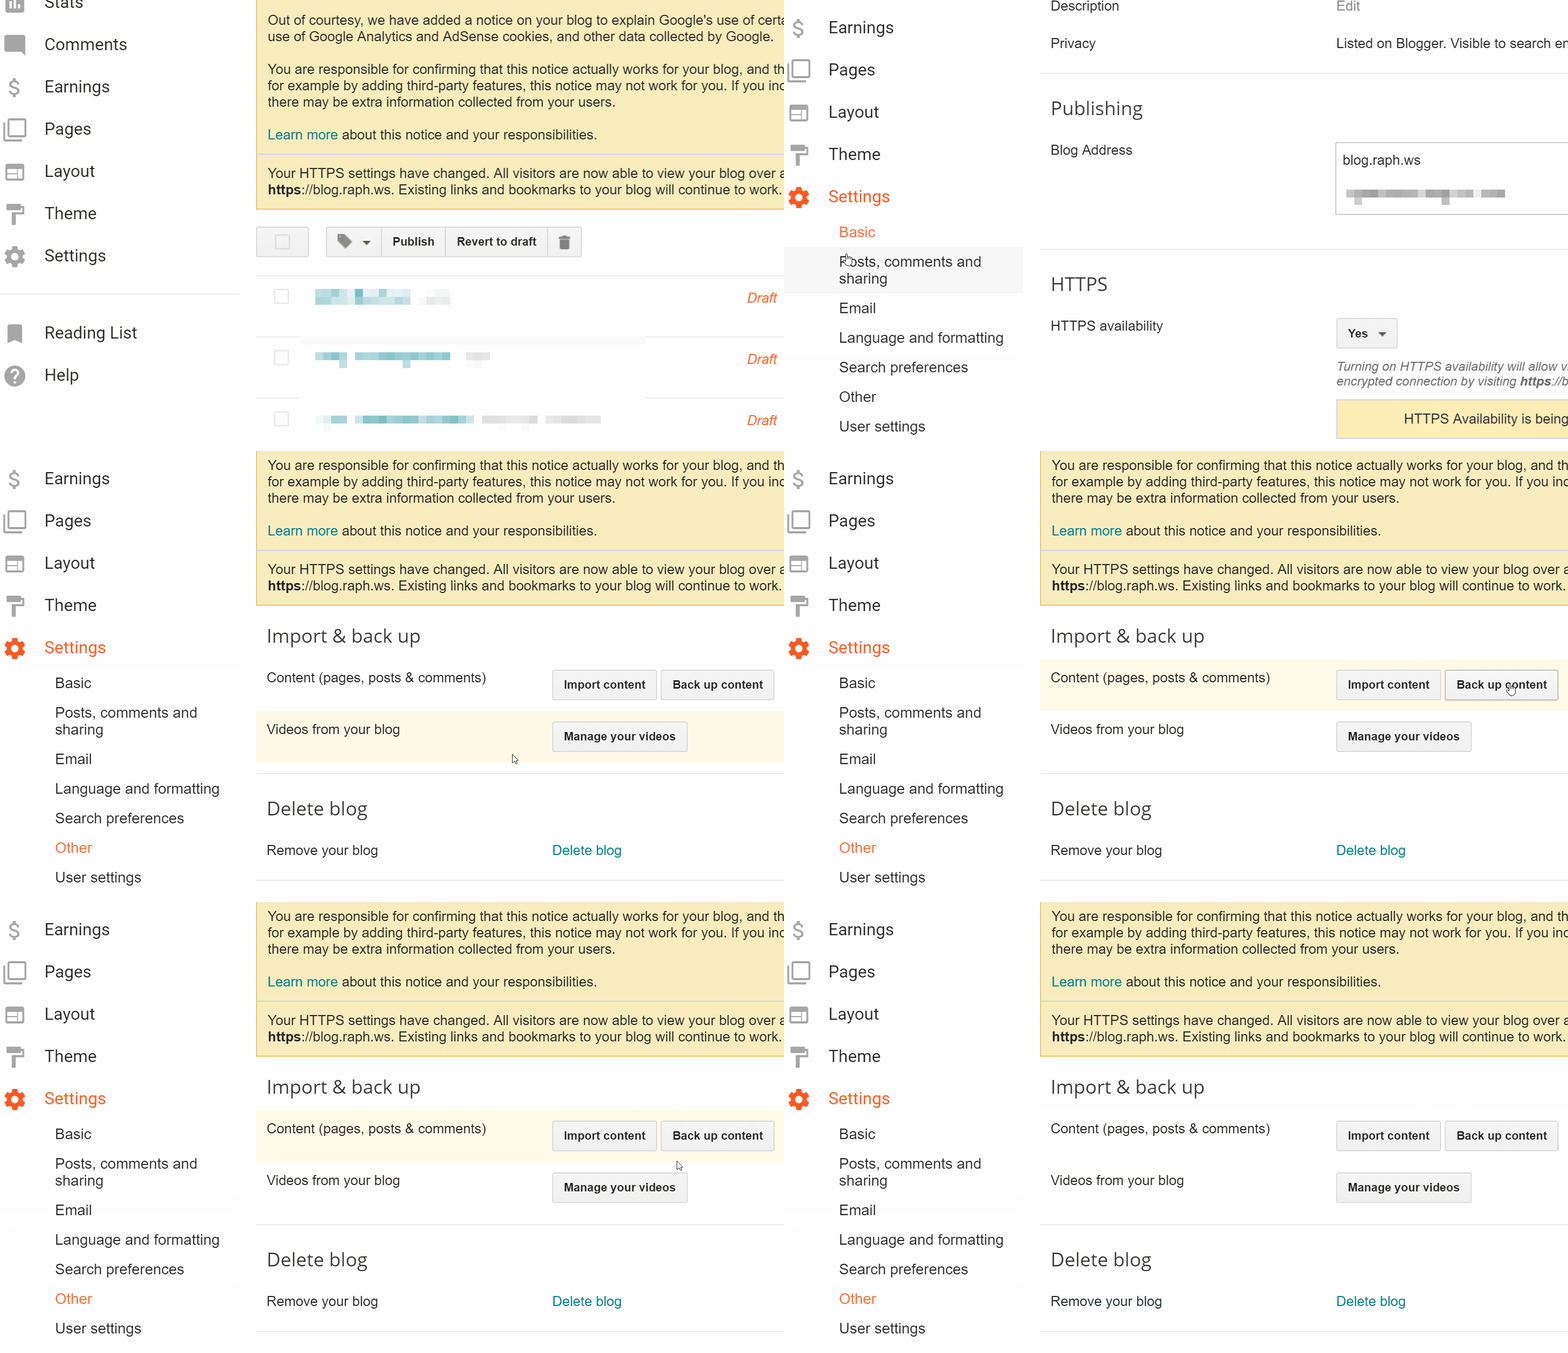
You’ll need to do an export of your content from Blogger. You do this by going into your administration panel. Click “Settings” -> “Other” -> “Back up Content”

Clone the tool blog2md, copy the XML file from your blogger backup into the cloned repository, and run:
npm install
node index.js b blog-dd-MM-yy.xml out
this will save all your blog posts into a folder called out.
Create a Hugo site
Create a new directory (for example blog) and do a
git init
Create a .gitignore file and add the folder public to it.
Follow the quick-start guide on the Hugo website up until Step 4. This guide will scaffold your new Hugo blog.
Instead of creating a new post. Copy and paste everything in the out directory above into the content/post folder.
Serve your site with Hugo
hugo serve -D
then commit everything
git add -A
git commit -am 'Add my converted blog posts from blogger'
Manual Cleanup
After the initial migration with blog2md I had to go through all my blog posts and do abit of cleaning up. Things included
- Removing trailing and unneeded spaces
- Standardising header weights
- Using the correct header weights (in some blog posts I had skipped weights completely)
- Fixing up images
Make sure you commit your changes at this point.
Images
Any images you may have on your blog posts will still link to the blogger domain. You will need to download them manually and put them in your static folder to be served.
Modified Theme
The Hugo tutorial uses the Ananke theme. I decided to use a modified Kiera theme instead, so I forked it, modified it, and added it as a git submodule to my blog git repository. This means, I can use git to track any changes from the original Kiera repository and just integrate my changes on top of them without touching my blog repository. You can see how this works on my GitHub blog repository.
Perma Links
I wanted to keep Perma Links on my blog. So I added the settings below to my config.toml file.
[permalinks]
  post = "/:year/:month/:title/"
Serving your site with Netlify
After you’ve done the above steps. Push them to GitHub.
git remote add origin https://github.com/<YourUserName>/<BlogRepoName>
git push -u origin master
I decided to use Netlify to serve my site. To do this yourself, create an account and follow the steps to create a complete build and release pipeline directly from your master branch. Netlify will automatically setup pull request policies on your branches as well!
That’s it! All done!